2/22/2024
Easy Faucet Installation Tips by Plumbers Bossier City
Are you looking to update your bathroom or kitchen and need a step-by-step guide to installing a new faucet? Look no further! In this quick guide, we will walk you through everything you need to know about installing a new faucet in Bossier City. From understanding your plumbing needs to finding the right faucet for your home, preparing for installation, and even maintaining your new fixture, we’ve got you covered. Whether you prefer to tackle the installation yourself or opt for professional plumbers in Bossier City services, this guide will provide you with all the essential information to ensure a successful faucet installation. So let’s dive in and get started!
Understanding Your Plumbing Needs
Before you begin the faucet installation process, it’s crucial to understand your plumbing system and its specific requirements. Different types of plumbing systems may require different types of faucets. For instance, compression, cartridge, ball, and ceramic disc faucets are common options, each with its own set of advantages and disadvantages. Additionally, you’ll need to consider if you need a single-handle, double-handle, or hands-free faucet, depending on your preferences and the water pressure in your home. Consulting with a professional plumber can help you identify the most suitable faucet type for your specific plumbing needs.
Identifying the Type of Faucet You Need
When it comes to identifying the type of faucet you need, it’s essential to consider the various types of plumbing systems and their compatibility with different faucets. Compression faucets, for example, have separate hot and cold water handles and are suitable for older plumbing systems. Cartridge faucets, on the other hand, feature a cartridge inside that controls water flow and temperature, making them a popular choice among homeowners.
Ball faucets, characterized by a ball-shaped cap, are known for their durability and easy operation. Ceramic disc faucets, with two ceramic discs that control water flow, are widely used for their longevity and leak-resistant design.
Considering your existing plumbing system, water pressure, and personal preferences will help you determine the right type of faucet for your needs. If you’re unsure, a professional plumber can assess your plumbing system and provide expert advice on the most suitable faucet option.
Requirements for Installing a New Faucet
Before you install a new faucet, there are a few requirements to consider for a successful installation process. First, conduct a thorough inspection of your plumbing system for any additional plumbing repair needs, such as leak detection or sewer line repair. It’s important to address any underlying plumbing issues before installing a new faucet to prevent future problems.
Assess the surrounding areas of the installation site for potential plumbing issues. Ensure that your plumbing system, including water heater installation, is functioning properly, and evaluate the quality of your plumbing pipes and sewer systems.
If you have any bathroom remodeling plans, take them into account as they may affect the faucet installation process. Considering these requirements beforehand, you can address any potential plumbing concerns and ensure a smooth installation process.
Purchasing the Right Faucet for Your Home
Now that you understand your plumbing needs, it’s time to purchase the right faucet for your home. There are a few factors to consider when buying a faucet to ensure you make an informed decision.
Quality plumbing fixtures are essential for durability and proper functioning, so choose a faucet made from high-quality materials. Additionally, consider factors like water conservation, water heater compatibility, and customer service provided by the faucet manufacturer. Research local plumbing supply stores in Bossier City, Louisiana, that offer quality faucets and have satisfied customers, and read customer reviews to make an informed decision.
Factors to Consider When Buying a Faucet
When purchasing a new faucet for your home, there are several factors to consider to ensure you choose the right option. Here are some important factors to keep in mind:
- Quality and Durability: Opt for a faucet made from high-quality materials to ensure it lasts long and withstands regular use.
- Water Conservation: Look for faucets with water-saving features, such as low-flow aerators, to conserve water and reduce utility bills.
- Compatibility with Water Heater: Ensure that the new faucet is compatible with your water heater, whether it’s a tankless water heater or a traditional storage tank unit.
- Customer Service and Warranty: Research the customer service reputation of the faucet manufacturer and choose a brand known for its excellent customer support. Also, consider the warranty provided by the manufacturer to protect your investment.
- Style and Finish: Choose a faucet style and finish that complements the overall aesthetic of your bathroom or kitchen.
- By considering these factors, you can find the perfect faucet for your home that combines functionality, durability, and style. When in doubt, consult with a professional plumber for expert advice on selecting the best faucet for your specific plumbing needs.
Where to Buy Quality Faucets in Bossier City
If you’re located in Bossier City, Louisiana, and looking for quality faucets, there are several places where you can find them. Here are a few options to consider:
- Local Plumbing Companies: Plumbers bossier city offer a wide range of plumbing services, including quality faucets. These companies often have a showroom where you can browse and purchase faucets of your choice.
- Plumbing Supply Stores: Plumbing supply stores specialize in providing plumbing fixtures, tools, and equipment. Visit a local plumbing supply store in Bossier City to explore a variety of faucet options.
- Online Retailers: Many online retailers offer a vast selection of faucets, allowing you to browse and compare different models and brands from the comfort of your home. Check customer reviews and ratings before making a purchase online to ensure quality and customer satisfaction.
- When buying faucets, it’s essential to choose a trusted source that offers quality services, reasonable prices, and excellent customer support. Take your time to explore different options, compare prices, and read customer reviews to make an informed decision.
Preparing for Faucet Installation
Before performing a faucet installation, proper preparation is crucial. This includes gathering all the necessary tools and equipment, as well as taking safety measures to ensure a smooth and safe installation process.
Gathering Necessary Tools and Equipment
To prepare for faucet installation, gather the following tools and equipment:
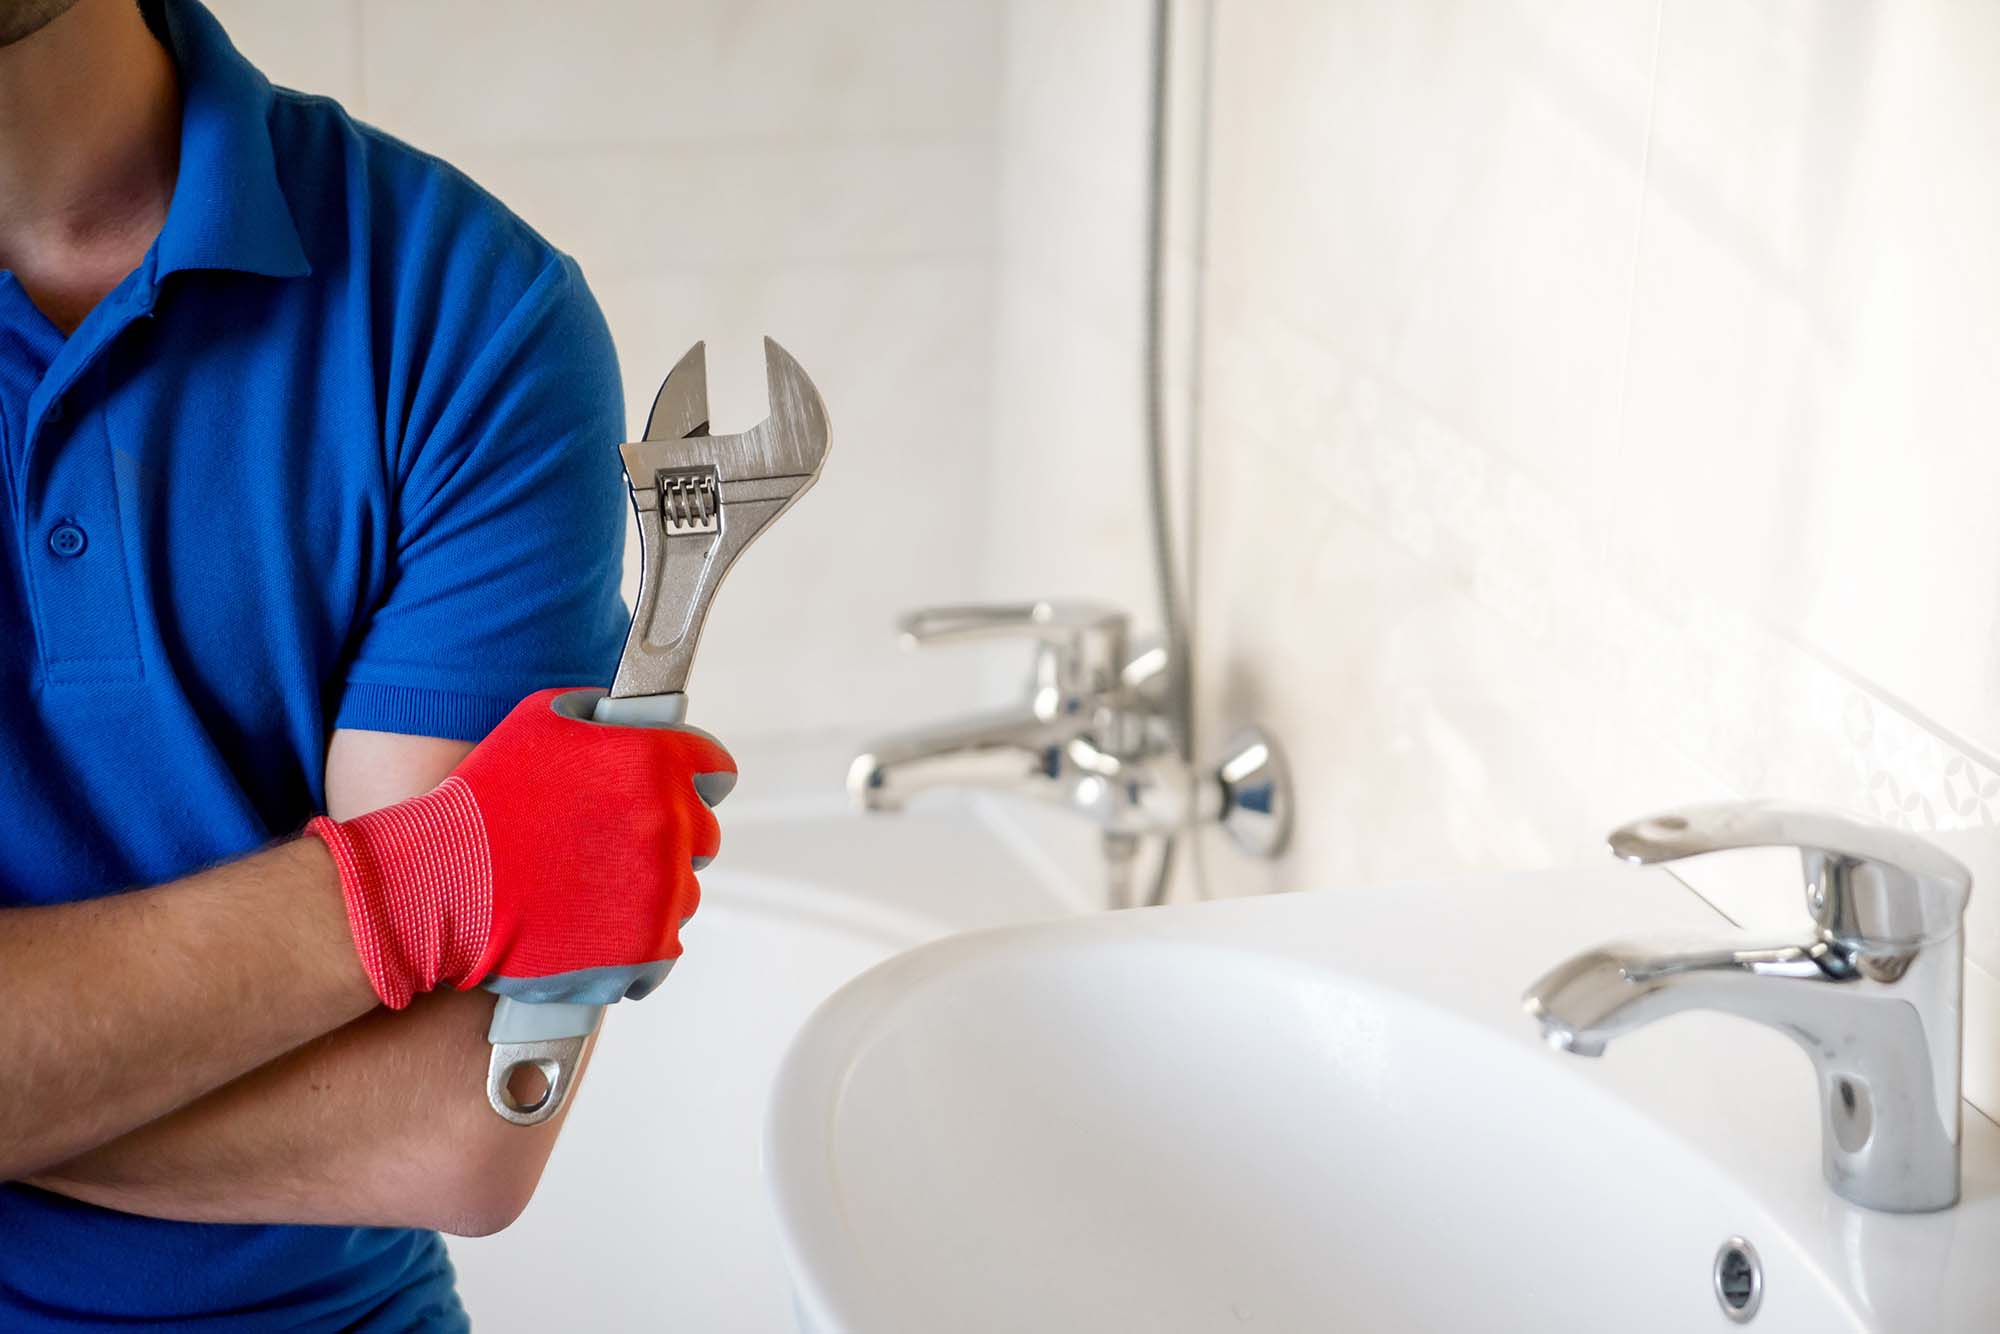
- Wrenches: Both adjustable and basin wrenches will be needed for different parts of the installation process.
- Pliers: Pliers are useful for tightening and loosening various connections.
- Screwdrivers: A set of screwdrivers, including Phillips and flat-head, will be necessary.
- Plumber’s Tape: Plumber’s tape helps create a tight seal and prevents leaks.
- Basin Wrench: This specialized tool is used to reach and loosen or tighten faucet mounting nuts in hard-to-reach areas.
- Safety Gear: Consider wearing gloves and safety goggles to protect your hands and eyes during the installation process.
- Having these tools and equipment ready beforehand will ensure a smoother installation process and help prevent delays or frustrations. If you lack any of these tools, consider contacting a plumbing contractor or professional service to assist with the installation.
Safety Measures to Consider Before Installation
Before starting the faucet installation, it’s essential to prioritize safety by taking proper precautions. Here are some safety measures to consider:
- Turn off the water supply: Ensure the water supply to the area where the new faucet will be installed is turned off to prevent any water leakage.
- Switch off the water heater: To avoid accidental water heater repair or potential damage, switch off the water heater before beginning the installation process.
- Handle plumbing pipes carefully: When handling plumbing pipes, water heater systems, or electrical connections, use caution to minimize the risk of injury or damage.
- Keep children and pets away: Create a safe work environment by keeping children and pets away from the installation area to avoid accidents.
- Follow manufacturer’s instructions: Always refer to the manufacturer’s installation instructions and guidelines to ensure the installation process is done correctly and safely.
- While DIY faucet installation can be manageable, it’s crucial to prioritize safety throughout the process. If you’re unsure or uncomfortable with any aspect of the installation, it’s recommended to seek professional assistance to ensure the job is done safely.
Step-by-step Guide to Faucet Installation
Now that you’re prepared, let’s dive into the step-by-step guide for installing a new faucet. We’ll walk you through removing the old faucet, installing the new one, and checking for leaks and making final adjustments.
Removing the Old Faucet
Removing the old faucet is the first step in the installation process. Follow these steps:
- Turn off the water supply: Locate the shut-off valves under the sink and turn off the water supply to the faucet. Open the faucet handles to drain any remaining water in the pipes.
- Disconnect water supply lines: Use a wrench to disconnect the water supply lines from the old faucet. Place a bucket or towel underneath to catch any water that may drain out.
- Remove mounting nuts: Loosen and remove the mounting nuts that hold the faucet in place, usually located on the underside of the sink. You may need a basin wrench or other specialized tool for this step.
- Clean the area: Once the old faucet is removed, clean the surrounding area thoroughly to remove any debris or residue.
- Dispose of the old faucet: Dispose of the old faucet responsibly, following local regulations and guidelines for plumbing repair waste.
- By following these steps, you can successfully remove the old faucet and prepare for the installation of the new one.
Installing the New Faucet
With the old faucet removed, it’s time to install the new one. Here’s how:
- Read the manufacturer’s instructions: Before installing the new faucet, carefully read the manufacturer’s instructions and familiarize yourself with the installation process specific to your faucet model.
- Apply plumber’s putty or silicone sealant: Apply plumber’s putty or silicone sealant to the base of the new faucet. This will create a watertight seal and prevent leaks.
- Secure the new faucet: Position the new faucet into place, aligning it with the mounting holes on the sink. From beneath the sink, secure the faucet in place using the mounting nuts provided.
- Reattach water supply lines: Connect the water supply lines to the corresponding hot and cold water inlet connections on the new faucet. Use a wrench to ensure a tight, leak-free connection.
- Turn on the water supply: Once the water supply lines are securely attached, turn on the water supply valves under the sink. Check for any leaks around the new faucet and address them if necessary.
Checking for Leaks and Final Adjustments
After installing the new faucet, it’s essential to check for any leaks and make final adjustments for optimal functionality. Follow these steps:
- Inspect all connections: Carefully inspect all connections, including those underneath the sink, for any signs of leaking. Tighten any loose fittings or connections as needed.
- Make necessary adjustments: Ensure that the new faucet handles, spout, and any other components function properly. Adjust as needed to achieve the desired water flow and temperature control.
- Wipe down the area: Clean and wipe down the area surrounding the new faucet to remove any residue or fingerprints, leaving a clean and polished finish.
- Test the functionality: Run both hot and cold water to test the functionality of the new faucet. Ensure that water flows smoothly and that there are no leaks or drips.
- By following these steps, you can ensure a successful faucet installation and enjoy a functioning plumbing system free of leaks and malfunctions.
When to Call a Professional Plumber
While DIY faucet installation can be a rewarding project, there are instances when it’s best to leave the job to a professional plumber. Here are a few situations where it’s advisable to call in the experts:
Potential Challenges in DIY Faucet Installation
Several potential challenges can arise during a DIY faucet installation, including:
- Unforeseen plumbing issues: If you encounter any unexpected plumbing issues, such as hidden leaks or deteriorating pipes, it’s best to consult a professional plumber who can address the problem properly.
- Proximity to emergency services: If you live in an area with plumbing issues, emergency service providers, such as water heater repair services, sewer line repair services, and professional plumbers, can respond quickly to any unforeseen challenges during the installation process.
- Lack of experience or tools: If you lack the experience or necessary tools for faucet installation, attempting a DIY installation may lead to incomplete or faulty work. In such cases, calling a professional plumber is the best course of action to ensure a reliable and safe installation.
Benefits of Hiring a Professional Plumber
Hiring a professional plumber has several advantages, including:
- Expertise and experience: Professional plumbers have the necessary knowledge and experience to handle faucet installation with precision, ensuring quality workmanship.
- Guaranteed work: By hiring a professional, you can have confidence that the job will be done correctly, providing peace of mind and customer satisfaction.
- Access to specialized tools: Professional plumbers have access to specialized tools and equipment required for faucet installation, which ensures the work is done efficiently and to a high standard.
- Identifying and addressing plumbing issues: A professional plumber can identify and address any underlying plumbing issues during installation, preventing future problems.
- Time-saving and convenience: Hiring a professional plumber saves you time and effort, allowing you to focus on other tasks while the installation is taken care of by qualified experts.
- When faced with plumbing challenges or if you prefer professional assistance, hiring a qualified plumber ensures a smooth and successful faucet installation.
Finding Reliable Plumbers in Bossier City
Finding reliable plumbers in Bossier City is essential when it comes to plumbing services like faucet installation. Here are a few tips for finding plumber services you can trust.
Traits of a Good Plumber
When searching for a plumber, look for the following traits:
- Excellent Service: A good plumber will provide top-notch service, which includes prompt response times, quality work, and attention to detail.
- Customer Service: Look for plumbers who prioritize customer satisfaction, effectively communicate, and address customer concerns professionally.
- Professional Manner: A good plumber will arrive on time, respect your property, and maintain a professional appearance while completing the installation.
- Transparency: A trustworthy plumber provides transparent pricing, discussing costs, potential additional charges, and any hidden fees upfront.
- Positive Reviews and Testimonials: Read customer reviews and testimonials to gauge the quality of service provided by plumbers in Bossier City.
- By considering these traits, you can find reliable plumbers in Bossier City who will deliver excellent service and exceptional customer satisfaction.
Maintaining Your New Faucet
Once you’ve successfully installed your new faucet, it’s important to practice regular maintenance to ensure its longevity and optimal performance.
Regular Cleaning and Upkeep Tips
Proper cleaning and regular upkeep will help your new faucet stay in excellent working condition. Here are some maintenance tips to follow:
- Regular cleaning: Clean your faucet regularly to prevent mineral buildup, using a mild soap or vinegar solution.
- Check for leaks: Periodically inspect your faucet for any leaks and address them promptly to prevent water waste and potential damage.
- Clean the aerator: Clean the aerator to maintain good water flow and prevent any blockages caused by debris or mineral buildup.
- Inspect rubber washers: Periodically inspect the rubber washers inside the faucet handles and address any signs of wear or damage.
- Lubricate moving parts: To extend the lifespan of your faucet, lubricate moving parts such as handles and spouts with silicone-based lubricants.
- Following these maintenance tips will help keep your new faucet functioning properly and prolong its lifespan. Regular cleaning and proactive upkeep can prevent costly repair issues down the line.
Signs of Faucet Malfunction to Look Out For
To ensure your faucet continues to work efficiently, keep an eye out for signs of malfunction that may indicate the need for plumbing repair:
- Low water pressure: Low water pressure can be a sign of mineral buildup or a clog in the faucet’s internal components.
- Dripping faucets: Dripping faucets may indicate worn-out washers or other internal parts that need replacement.
- Sputtering water: Sputtering water may imply air in the pipes or a blockage obstructing water flow.
- Rusty or discolored water: Rusty or discolored water can be a sign of corrosion inside the faucet, which may require plumbing repair or replacement.
- Noises during use: Loud, banging noises while using the faucet may suggest water hammer issues, which can be addressed through plumbing repair services.
- If you notice any of these issues, it’s best to address them promptly to prevent further damage and ensure your faucet continues to function properly.
Comprehensive Plumbing Solutions in Bossier City
In addition to faucet installation, several plumbing services are available in Bossier City to address various plumbing needs, ensuring a comprehensive plumbing solution for local residents and business owners.
Other Plumbing Services Available in Bossier City
Beyond faucet installation, plumbing service providers in Bossier City offer a wide range of services, including:
- Drain Cleaning: Professional plumbers can address clogged drains and provide drain cleaning services to restore optimal water flow.
- Sewer Line Repair: In the event of sewer line issues, plumbing services in Bossier City offer sewer line repair and cleaning services.
- Commercial Plumbing: Business owners can rely on commercial plumbing services, ensuring their plumbing systems and fixtures are functioning properly.
- Whether you need drain cleaning, sewer cleaning, or commercial plumbing services, reputable plumbing companies in Bossier City are equipped to provide quality solutions tailored to your specific plumbing needs.
Emergency Plumbing Services in Bossier City
Plumbing emergencies can strike at any time, which is why emergency plumbing services are available in Bossier City to address urgent plumbing issues promptly.
- 24/7 emergency service: These plumbing services provide round-the-clock emergency response, ensuring that plumbing issues can be addressed at any time of the day.
- Quick response times: With emergency services, prompt response times are a top priority, allowing customers to have their plumbing emergencies resolved as soon as possible.
- Wide range of emergency services: From burst pipes to sewer line repair, emergency plumbing service providers cater to a variety of urgent plumbing needs.
- Expert estimates: Many emergency plumbing service providers offer expert estimates for emergency services, providing transparency and peace of mind during stressful situations.
- In the event of a plumbing emergency, don’t hesitate to contact emergency plumbing services in Bossier City for immediate assistance and professional resolution of your plumbing issues.
Making Your Home Plumbing Efficient
Efficient home plumbing helps conserve water, save money, and promote sustainable living. Here are some tips to make your home plumbing more efficient.
Water Conservation Tips
Conserving water is not only good for the environment but also reduces water bills. Here are some water conservation tips:
- Fix leaky faucets: Address any leaky faucets promptly to prevent water waste. A leaky faucet can waste hundreds of gallons of water each year.
- Install water-saving fixtures: Consider installing low-flow aerators, shower heads, and toilets to minimize water usage without compromising water pressure.
- Use water-efficient appliances: Choose water-efficient appliances, such as washing machines and dishwashers, to minimize water consumption.
- Practice mindful water usage: Turn off the faucet while brushing your teeth or lathering your hands to conserve water. Use cold water when possible, as it reduces water heating costs.
- Collect rainwater for outdoor use: Consider installing a rain barrel to collect rainwater that can be used for watering plants, washing cars, or cleaning.
- By implementing these water conservation tips, you can significantly reduce water consumption, contribute to water conservation efforts, and save money on utility bills.
Investing in High-Quality Plumbing Fixtures
Investing in high-quality plumbing fixtures is a wise decision that offers numerous benefits in the long run. Here’s why:
- Longevity and Durability: High-quality fixtures are built to last, reducing the need for frequent repair or replacement.
- Reliable Performance: Quality fixtures ensure reliable performance, preventing leaks, clogs, or other plumbing issues.
- Aesthetics and Functionality: Investing in quality fixtures enhances the overall aesthetics of your plumbing system, adding value to your home while improving functionality.
- Reputable Brands: Opt for fixtures from reputable brands known for their quality, customer satisfaction, and reliable customer service.
- Long-Term Savings: While quality fixtures may have a higher upfront cost, they often result in long-term savings by eliminating the need for frequent repairs or replacements.
- When selecting plumbing fixtures, consider quality as a long-term investment that will improve the efficiency, durability, and overall appeal of your plumbing system.
How Does Regular Plumbing Maintenance Benefit Your Home?
Regular plumbing maintenance provides various benefits to your home, ensuring a properly functioning plumbing system and added value. Here’s how:
- Avoid Costly Repairs: Regular maintenance helps identify potential plumbing issues early on, allowing for timely repairs and preventing more significant, costly problems down the line.
- Improved Efficiency: Well-maintained plumbing systems are more efficient, minimizing water waste, and reducing utility bills.
- Extended Lifespan of Fixtures: Routine maintenance ensures that plumbing fixtures and components last longer, reducing the need for frequent replacements.
- Enhanced Home Value: By maintaining a well-functioning plumbing system, you increase your home’s overall value, which can be a significant advantage if you decide to sell your property in the future.
- Peace of Mind: Regular maintenance provides peace of mind, knowing that your plumbing system is in good condition and less likely to experience unexpected issues.
- By prioritizing regular plumbing maintenance, you can enjoy the benefits of a properly functioning plumbing system, increased home value, and long-term savings.
Frequently Asked Questions
Can I install a new faucet myself?
Installing a new faucet can be a DIY project for those with some plumbing experience. Remember to turn off the water supply before starting the installation. Follow the manufacturer’s instructions carefully to ensure proper installation and avoid leaks. If unsure, consult a professional plumber.
What tool is used to install a faucet?
To install a faucet, the primary tool you will need is a basin wrench. Additional tools like pliers, adjustable wrenches, and a screwdriver may also be required. Remember to turn off the water supply before starting the installation process and carefully follow the manufacturer’s instructions for proper installation.
In conclusion, installing a new faucet can be a DIY project with the right knowledge and tools. Understanding your plumbing needs and identifying the type of faucet you need are crucial steps in the process. Purchasing the right faucet for your home and preparing for the installation are also important considerations. Following a step-by-step guide and checking for leaks and final adjustments ensure a successful installation. However, if you encounter any challenges or prefer to leave it to professionals, it’s best to call a reliable plumber in Bossier City. Maintaining your new faucet through regular cleaning and upkeep will prolong its lifespan. Additionally, investing in high-quality plumbing fixtures and practicing water conservation tips can make your home plumbing more efficient. Remember, regular plumbing maintenance is key to preventing costly repairs and ensuring the long-term functionality of your plumbing system.
Contact Us
"*" indicates required fields


